Difference between revisions of "Robot kit"
From Fri3d WIKI 2018
(Answered motor calibration questions) |
|||
| Line 21: | Line 21: | ||
* Robot body can be assembled inside out, with motors oriented wrongly | * Robot body can be assembled inside out, with motors oriented wrongly | ||
* Battery is difficult to fit, but it does fit | * Battery is difficult to fit, but it does fit | ||
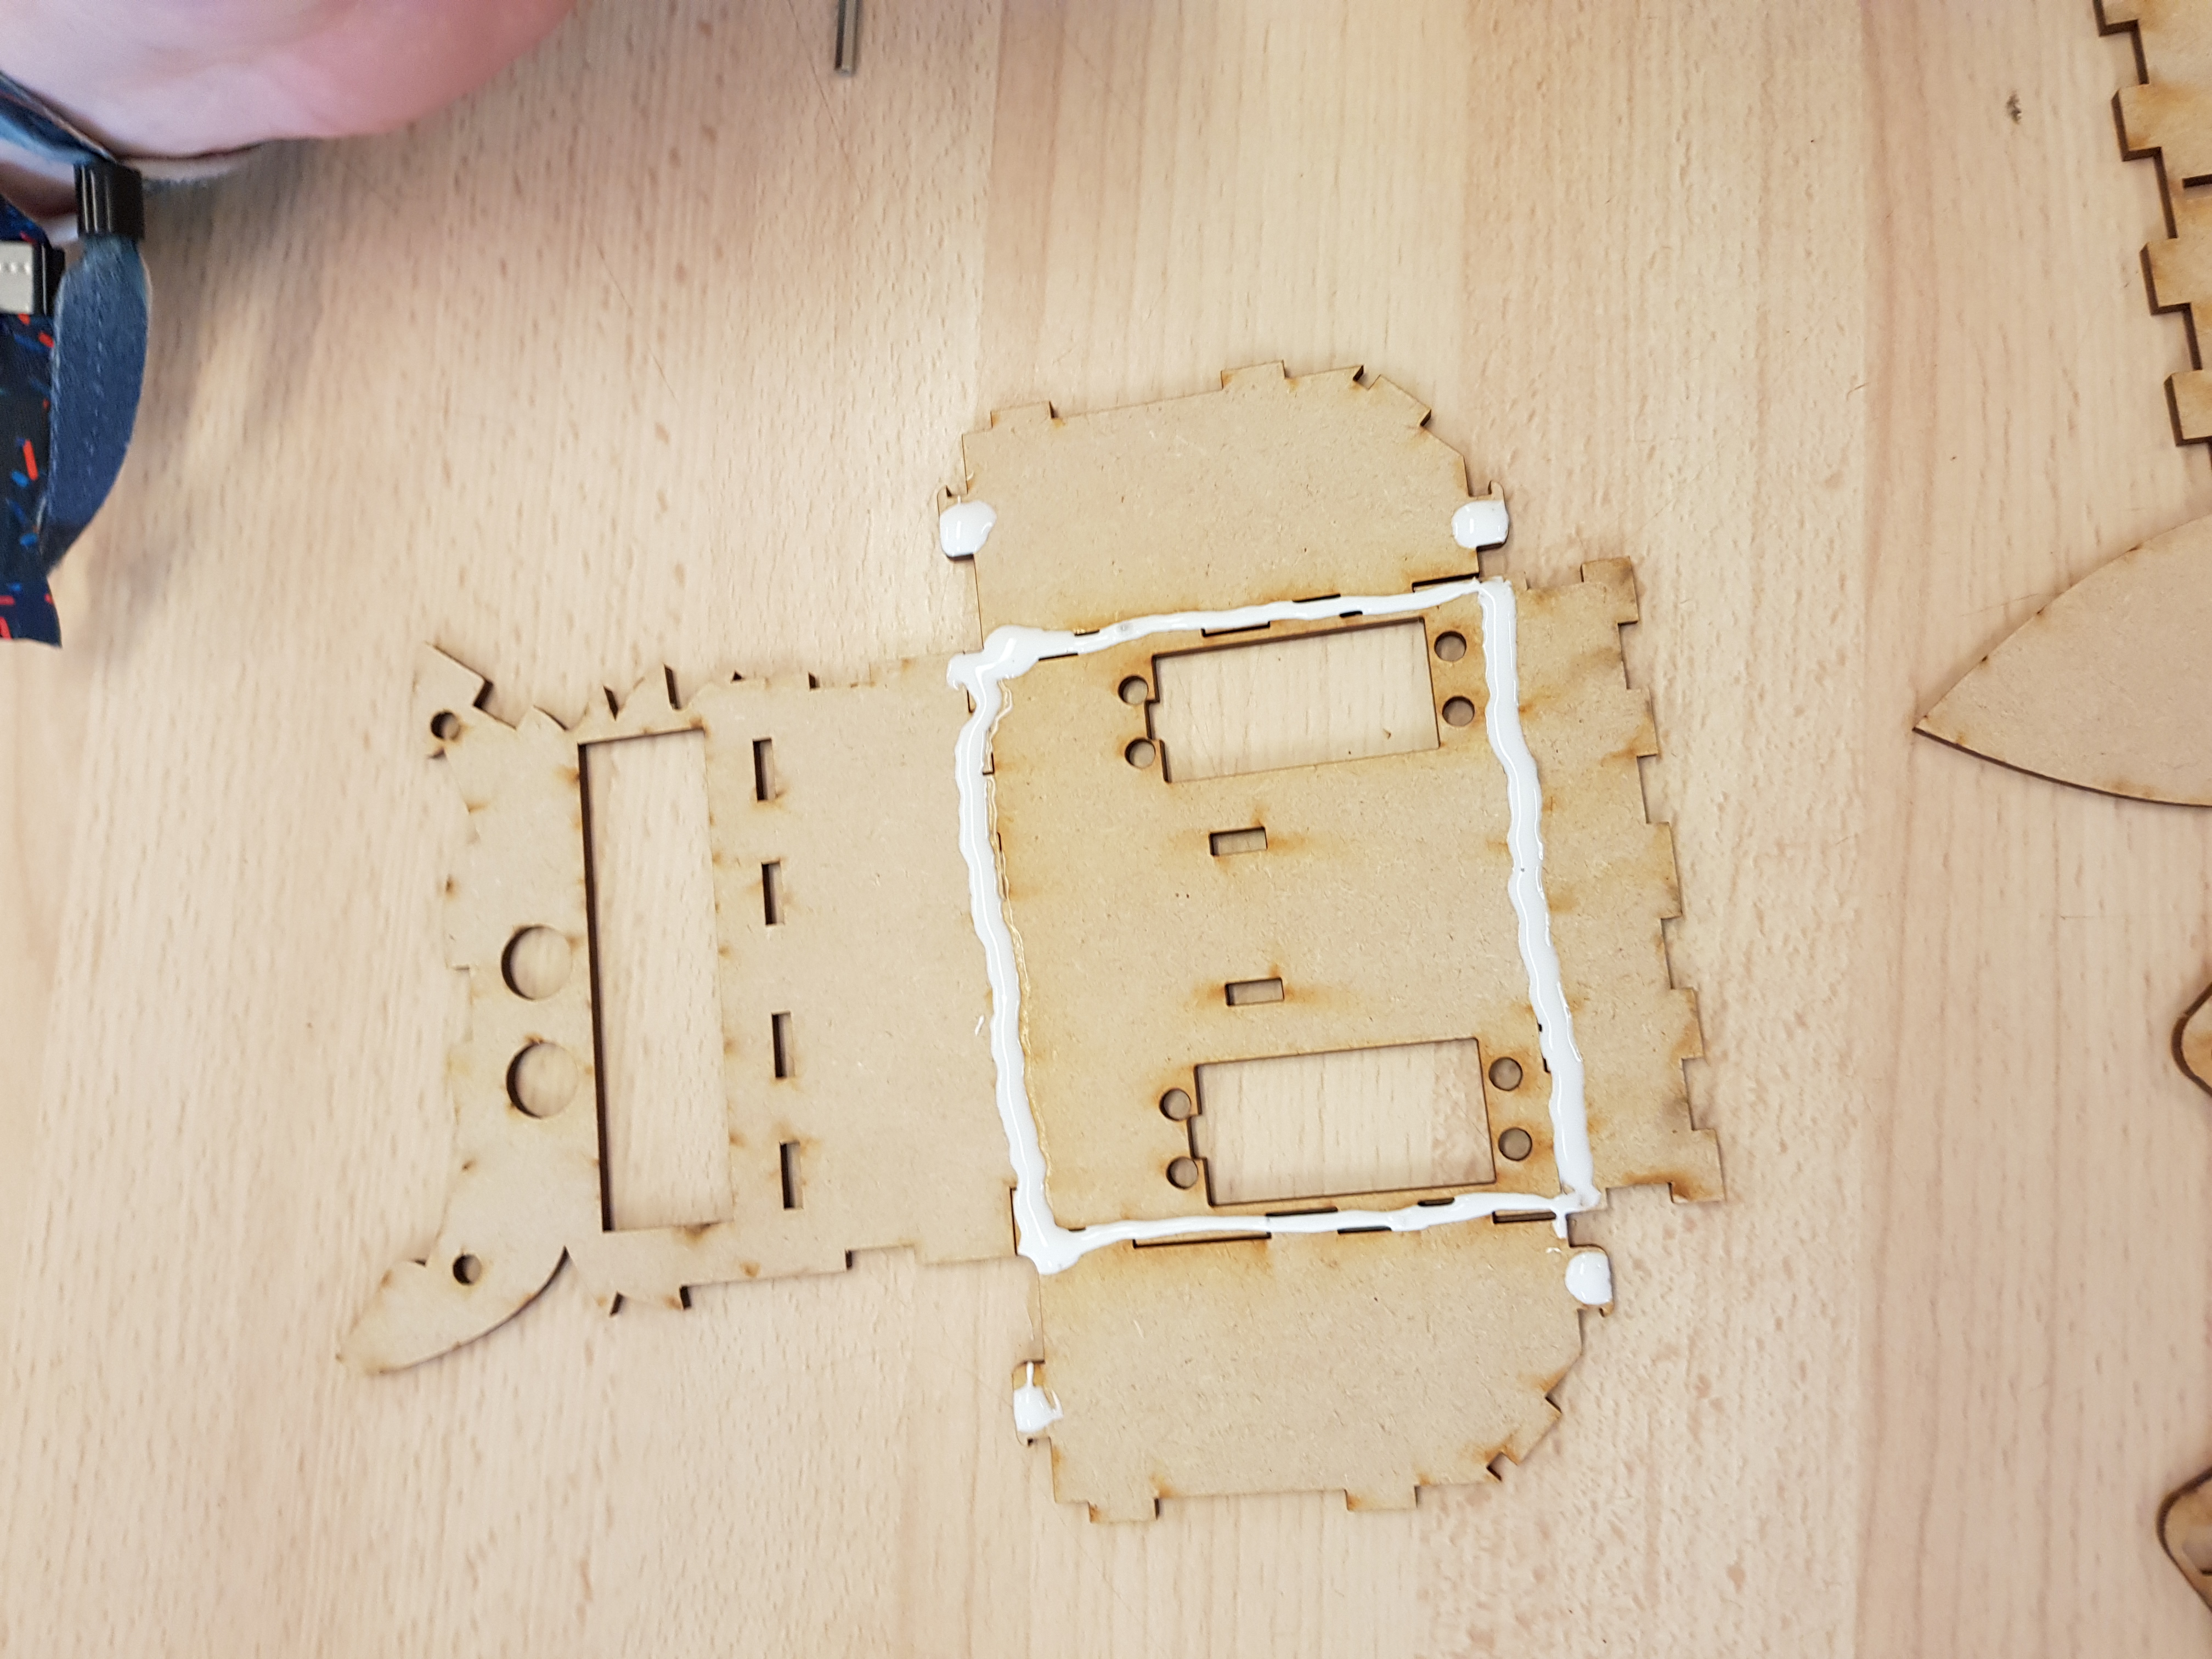
| + | * [https://debleser.be/2018/fri3d/robot-lijmen.jpg Image of how to glue the assembly together] | ||
* Careful assembling the feet, don't push in the center, but at the sides or you risk breaking the wood | * Careful assembling the feet, don't push in the center, but at the sides or you risk breaking the wood | ||
* After assembling the feet and hips and before fitting everything together, calibrate the motors | * After assembling the feet and hips and before fitting everything together, calibrate the motors | ||
Revision as of 05:36, 19 August 2018
Tijdens de robot presentatie (na de openingsceremonie) wordt uitgelegd hoe je de robot kit kan bouwen
Contents
Software pre-requisites
USB UART Driver https://www.silabs.com/products/development-tools/software/usb-to-uart-bridge-vcp-drivers
Arduino IDE - https://www.arduino.cc/en/Main/Software
Visit https://github.com/Fri3dCamp/Fri3dBadge
Save as zip
In Arduino IDE: Sketch > Include Library > Add .ZIP Library ...
Also read the README in this zip for tips on how to configure Arduino IDE for the Fri3d Badge.
Build instructions
YouTube video met bouwinstructies: https://www.youtube.com/watch?v=ZcMtFPezIq0
- Robot body can be assembled inside out, with motors oriented wrongly
- Battery is difficult to fit, but it does fit
- Image of how to glue the assembly together
- Careful assembling the feet, don't push in the center, but at the sides or you risk breaking the wood
- After assembling the feet and hips and before fitting everything together, calibrate the motors
- Some examples during building
Calibrate motors
Install calibration program
- where do I find the calibration program?
- If you have installed the Fri3dcamp library inside the arduino IDE, you can find the calibration under the following menu item:
- File > Example > Fri3d Camp Badge > 4.Kits > RobotKit > MotorCalibratie
- how to calibrate the servo's?
- Once the calibration program has been flashed on the badge (use USB port of Badge, not on motor controller), you will be able to calibrate the servo's.
- The following buttons can be used to navigate and manipulate the application:
-
- BOOT
- Go to the next step in the progress (the step you are in is visible as the number of LEDs lit in left displays)
- BTN0
- Up
- BTN1
- Down
- Choose the servo to calibrate (S0/S1/S2/S3 is shown on right display)
- The servo moves to the 0 degrees position (left display shows "-") -> mount your leg/foot accordingly, or press BTN0/1 to adjust.
- The servo moves to the 180 degrees position (left display shows "+") -> mount your leg/foot accordingly, or press BTN0/1 to adjust.
- Save your changes (with buttons select "V" on right display instead of "X" on left display)
- what is best assembled, what unassembled or temporary assembled during calibration?
- The bot kit is best assembled up to the stage where you have 2 feet, 2 hips and the body. The best way it seems is to pull the servo wires already into place through the hips and the body, but keep the kit partially disassembled. You can take on of the spare horns to help you with determining the 0 and 180 degrees positions.
- what is 0/180 degree reference (left or right, direction w.r.t. robot, mirrored or same for left and right motors?)
- If you take the servo in front of you, the servo wire leading away from you, left is 0 degrees, right is 180 degrees, for every servo.
- Do I lose my calibration if I install another application on my Fri3d Badge?
- The servo calibration is stored at the badge level in the persistent memory of the badge. This means that another badge will require you to recalibrate your servo's, but you will not lose the calibration if you just flash another application on it.
- Can I calibrate an assembled robot?
- Calibrating an assembled robot can be a bit hard. The problem being that the servo's of an assembled robot do not have the full range of 180 degrees to move, resulting in wooden parts locking into eachother. Not saying it is impossible, just saying you have to watch out.
- Questions to be answered in this wiki
- Add your questions here ...
Connecting the motor wires
- G
- Brown
- +
- Red
- S
- Orange
- 0
- Linker Enkel
- 1
- Rechter Enkel
- 2
- Linker Heup
- 3
- Rechter Heup